You’ve done the research. You know a bare concrete floor isn’t cutting it anymore. Now you’re stuck between two popular options — epoxy coating and interlocking PVC tiles — and every article you read seems to favor whatever the site happens to sell.
Here’s the truth: both options can work well. But for most homeowners, one is significantly faster, cheaper, and more forgiving than the other.
In this guide, we’ll give you real cost math for your specific garage size, walk through the concrete condition factor that most articles ignore, and help you make a confident decision without regrets.
Let’s get into it.
Quick Answer: Choose interlocking PVC tiles if you want a floor down in an afternoon, you rent or may change it later, or your concrete is cracked or damp — tiles float over imperfect slabs with no cure time. Choose epoxy if you want a seamless, permanent, chemical-resistant finish and your slab is sound, dry, and you can spare days for prep and curing. The deciding factor most guides skip is concrete condition: a bad slab favors tiles, a good slab opens both doors.
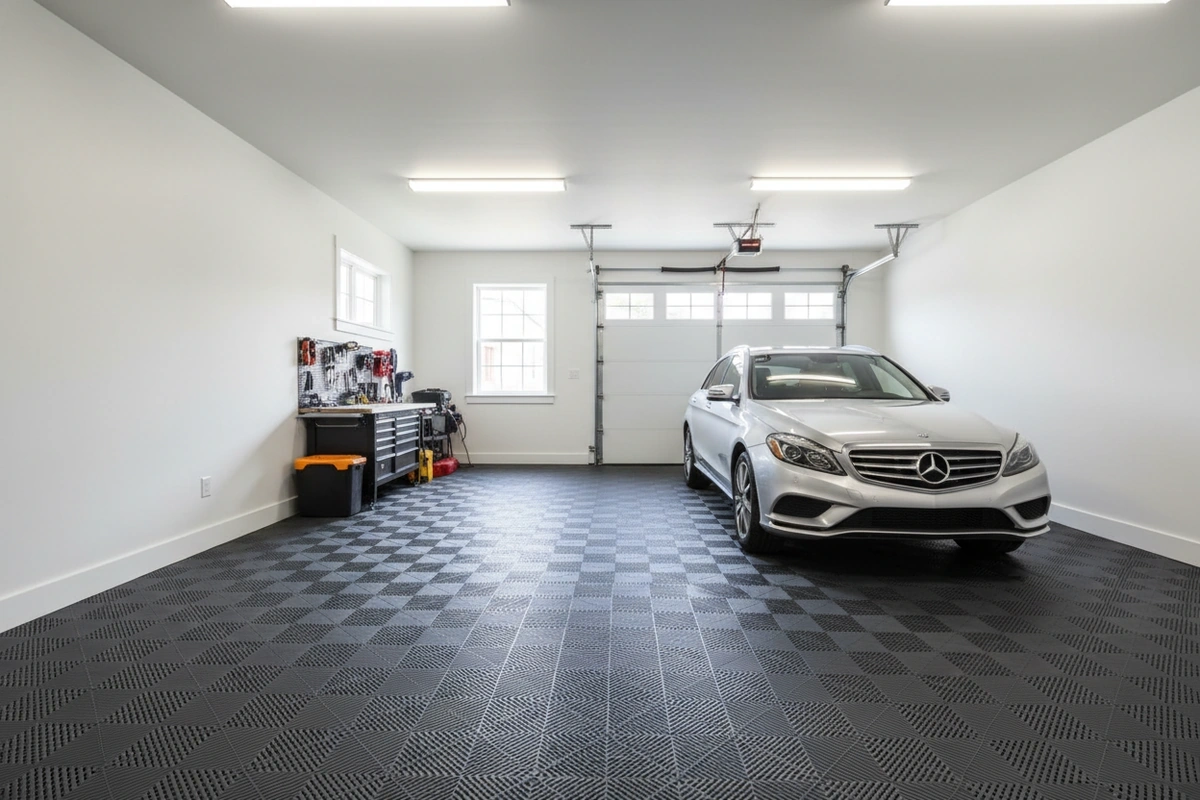
Choose Tiles or Epoxy in 2 Minutes
Not every garage situation is the same. Here’s a quick filter.
Choose interlocking PVC tiles if:
- You want to do it yourself in a single afternoon
- Your concrete has cracks, stains, moisture, or previous coatings
- You rent (or might move) and want a floor you can take with you
- You want to park on it immediately after installation
- Your budget for a 2-car garage is under $1,000
Choose professional epoxy if:
- You want a completely seamless, high-gloss showroom finish
- Your concrete is in excellent, fully dry condition
- The floor is permanent — you’re not moving anytime soon
- You’re willing to hire a contractor and wait 2–4 days
- Aesthetics matter more than budget or speed
If you checked two or more boxes in the first list, interlocking tiles are likely your best move.
Side-by-Side Comparison
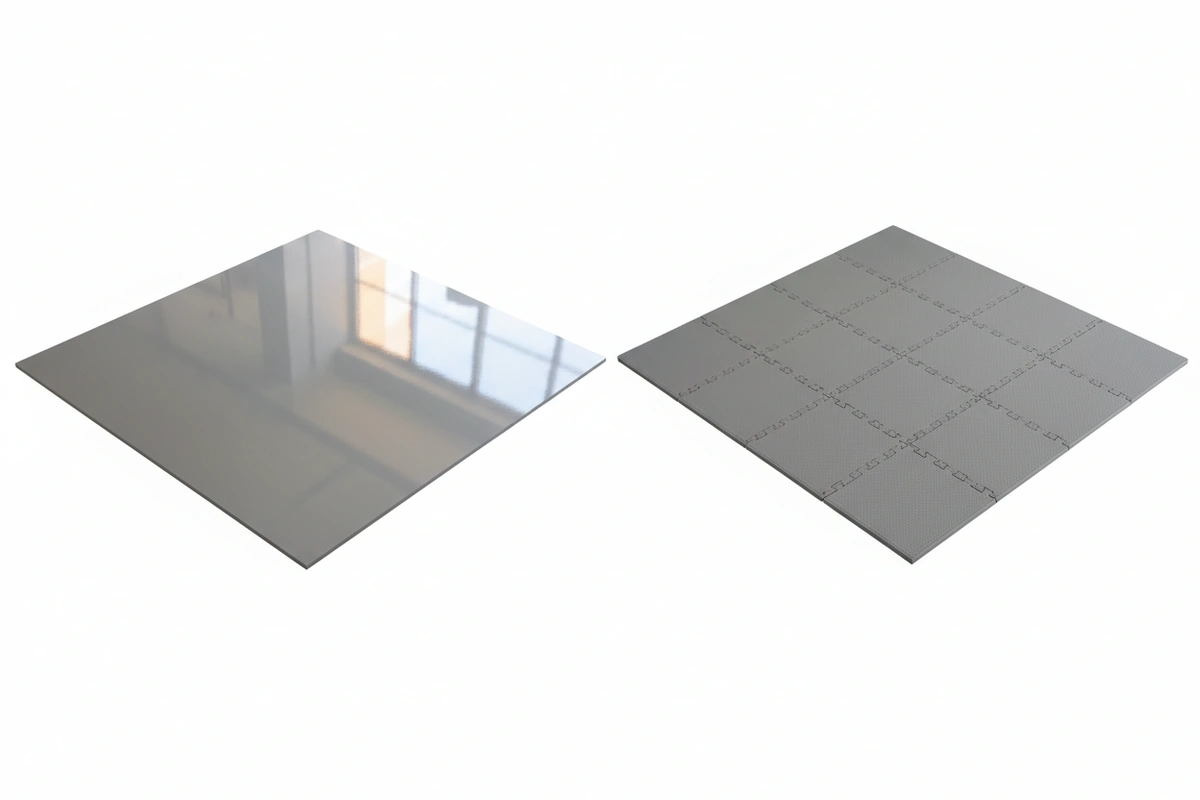
| Factor | Epoxy (Pro Install) | Interlocking PVC Tiles |
|---|---|---|
| Cost per sq ft | $3–$12 (labor + materials) | $2.08–$2.15 |
| Installation time | 2–3 days + curing | 4–6 hours |
| DIY friendly | Difficult | Yes — no tools needed |
| Works over damaged concrete | No (repair required first) | Yes |
| Reversible/removable | No (permanent) | Yes |
| Lifespan | 10–20 years | 15–25+ years |
| Slip resistance when wet | Low without additives | High (textured surface) |
| Hot tire resistance | Poor (common failure mode) | Excellent |
| Chemical resistance | Good (degrades over time) | Excellent |
| Warranty | Varies by installer | Limited lifetime |
Epoxy Garage Floors: The Full Picture
Epoxy gets a lot of attention — and rightfully so. A quality professional epoxy job is genuinely beautiful.
Here’s what makes it worth considering.
When Epoxy Is the Right Call
A well-applied epoxy floor creates a seamless, non-porous surface that’s easy to sweep and mop. The high-gloss finish reflects light and transforms a drab garage into something that looks like a dealership showroom.
For commercial garages with extreme chemical exposure — battery acid, industrial solvents — a professional-grade polyurea/polyaspartic topcoat over epoxy provides outstanding resistance.
Bottom line: if aesthetics are your top priority and budget isn’t a constraint, professional epoxy is hard to beat visually.
The 3 Ways Epoxy Fails (That Nobody Warns You About)
Here’s where most articles go quiet.
1. Hot tire pickup. Drive your car in after a long trip and park it on an epoxy floor. The heat from your tires can soften and literally peel the coating up when you drive away. This is the #1 complaint homeowners report after epoxy installation. Not all epoxy products are equally vulnerable — a quality polyurea topcoat resists this significantly better — but budget DIY kits rarely include one.
2. Moisture blistering. If your concrete slab has any moisture vapor (extremely common in garages, especially in humid climates or over soil), epoxy can bubble, blister, and delaminate from below. A proper calcium chloride moisture test is required before application. Most DIYers skip this step. Most installers who do skip it won’t tell you they did.
3. Concrete prep failure. Epoxy bonds require professional-grade surface preparation — either mechanical grinding or acid etching. Under-prepared concrete looks fine on day one. By year two, it peels. This is why so many DIY epoxy kits end badly. The kit itself isn’t the problem; the prep is.
Epoxy Cost Reality
Professional epoxy installation runs $3–$12 per square foot in most U.S. markets, labor included. That’s $1,350–$5,400 for a 2-car garage (450 sq ft) depending on your location and coating type.
Quality DIY kits for the same garage run $300–$600, plus a full weekend of labor — and still carry all the prep and moisture risks above.
Interlocking PVC Tiles: The Full Picture
Interlocking tiles work differently than epoxy. Instead of bonding to concrete, they float on top of it.
That distinction matters more than most people realize.
Why the Floating Installation Changes Everything
Because tiles don’t bond to the surface, they don’t care what’s underneath them.
Cracked concrete? Lay tiles over it. Moisture issues? Irrelevant. Old paint or a previous coating you’d need to strip for epoxy? Not a problem. Tiles go down on any flat, swept surface.
This also means installation is genuinely DIY-friendly. Norsk PVC garage floor tiles snap together without adhesive or special tools. A rubber mallet helps, and a utility knife handles edge cuts. Most homeowners complete a 2-car garage in an afternoon.
The Concrete Condition Test Nobody Mentions
Before you decide between epoxy and tiles, check your concrete. This single step can make the decision for you.
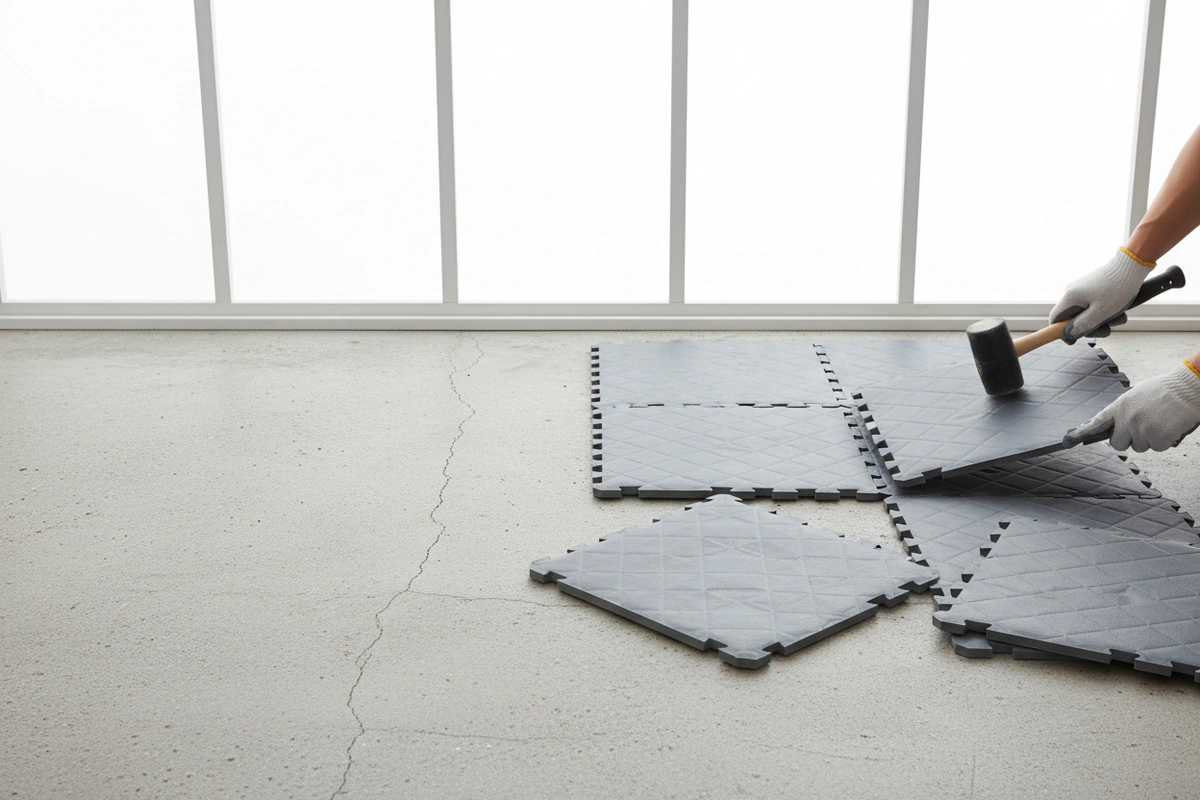
If your concrete has cracks: Epoxy requires crack repair first (adds cost and complexity). Tiles lay over cracks without issue.
If your garage floor has moisture: Any visible dampness or efflorescence (white mineral deposits) is a disqualifier for epoxy. Tiles are unaffected.
If there’s previous coating or paint: Removing it for epoxy can cost $500–$1,000 extra in labor. Tiles don’t require removal.
If the surface is uneven: Epoxy follows the concrete’s contours. Tiles self-level minor variations.
The truth? Most residential garage floors fail at least one of these checks. If yours does, interlocking tiles aren’t just the easier option — they may be the only realistic one.
The Reversibility Advantage
Here’s something most comparison articles miss entirely.
Interlocking tiles can be unsnapped, loaded into a truck, and reinstalled in your next garage. For renters, this converts a $500 floor upgrade into a long-term investment rather than a sunk cost. For homeowners who’ve moved before, it means the floor value moves with them.
Epoxy is permanent by design. Once it’s down and cured, removing it requires grinding equipment and professional help.
Durability: The Surprising Winner
High-quality PVC interlocking tiles typically last 15–25 years or more. Norsk tiles carry a limited lifetime warranty and are rated for 5,000 lb rolling loads — meaning your car, a loaded toolbox on wheels, and a full-size truck all qualify.
Professional epoxy, done well, lasts 10–20 years. Budget DIY epoxy often starts showing wear within 3–5 years.
If long-term durability is the goal, tiles are actually the stronger performer.
Real Cost Breakdown by Garage Size
Let’s put actual numbers on the table.
| Garage Size | Sq Ft | Epoxy Pro Install | Epoxy DIY Kit | Norsk PVC Tiles |
|---|---|---|---|---|
| 1-Car | 250 | $750–$3,000 | $150–$350 | $520–$537 |
| 2-Car | 450 | $1,350–$5,400 | $300–$600 | $936–$967 |
| 3-Car | 650 | $1,950–$7,800 | $450–$900 | $1,352–$1,397 |
Norsk tile costs based on DURAFLEX Diamond at $2.15/sq ft. Add $50–$100 for edge trim pieces.
The math is hard to ignore. A 2-car garage with Norsk tiles costs under $1,000 installed by yourself. Professional epoxy for the same floor runs $1,350–$5,400.
Worth noting: competitor interlocking tiles often run $3.95–$7.50 per square foot. Norsk’s pricing sits at less than half that for comparable or better durability specs.
Installation: What to Actually Expect
Understanding the real time commitment changes how most people think about this decision.
The bigger swing is substrate prep. Epoxy demands a near-perfect slab; tiles tolerate most real-world concrete. For prep specs by floor type — moisture thresholds, crack widths, flatness tolerances — see our installing flooring over concrete guide.
Professional Epoxy:
- Schedule installer — 1–3 week lead time is common
- Clear garage completely before they arrive
- Contractor grinds or acid-etches concrete (4–8 hours)
- Primer coat applied — wait 4–12 hours
- Epoxy base + decorative flake broadcast — wait 12–24 hours
- Topcoat applied — wait 24–72 hours to cure
- Total downtime: 3–5 days minimum
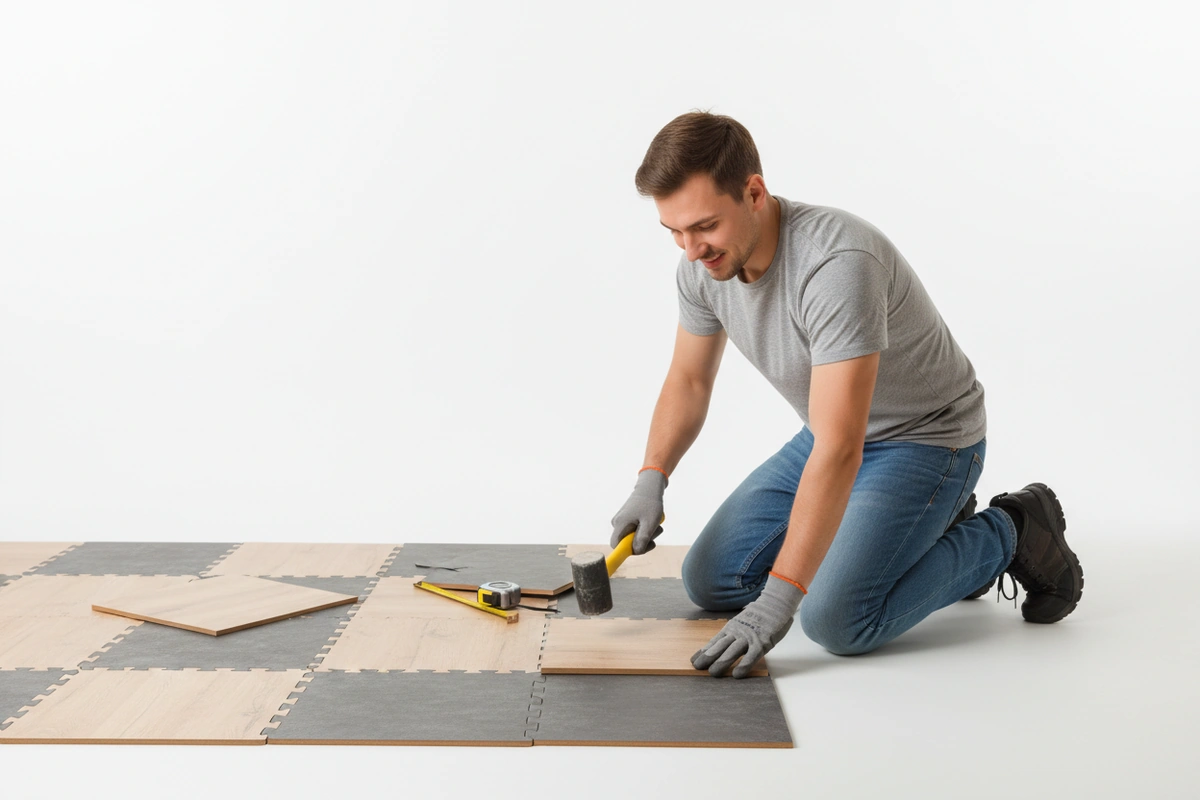
Norsk PVC Interlocking Tiles (DIY):
- Sweep floor clean and dry
- Lay first tile in corner, snap tiles row by row
- Trim edge tiles with a utility knife
- Add ramp trim pieces at doorways
- Total time: 4–6 hours for a 2-car garage
- Drive on it the same day
No contractor scheduling. No waiting for cure. No moving cars out for a week.
Our Verdict
For most homeowners, interlocking PVC tiles are the better choice.
They’re faster, significantly cheaper, work regardless of your concrete’s condition, and outlast epoxy in typical residential use. The only scenario where epoxy genuinely wins is when you need a seamless showroom aesthetic and you have the budget, the time, and the concrete condition to support it.
For more garage flooring options, see our complete garage flooring guide covering every floor type side by side. If your garage doubles as a workshop, our workshop flooring guide covers zone planning for workbench areas, rolling equipment paths, and anti-fatigue solutions.
Best Overall Garage Tile
DURAFLEX Diamond PVC Tiles
Best for: Any garage — cars, heavy tools, workshop use
Industrial diamond-pattern PVC at $2.15/sq ft. Rated for 5,000 lb rolling loads and 20,000 lb static loads. Hides surface scratches and scuffs naturally due to the raised texture. Chemical resistant to motor oil, brake fluid, antifreeze, and road salt. Lifetime limited warranty.
Key specs:
- Thickness: 0.25″
- Tile size: 2′ × 2′
- Load rating: 5,000 lbs rolling / 20,000 lbs static
- Price: $2.15/sq ft
The catch: The raised diamond texture requires a stiff broom rather than a soft mop — fine debris can settle into the texture.
Best for Wet Conditions
Raised Coin PVC Tiles
Best for: Garages with moisture, dripping vehicles, wet climates
The coin-dot surface provides grip in wet conditions where epoxy becomes dangerously slippery. At $2.08/sq ft, it’s the most affordable tile in the Norsk lineup. Same 5,000 lb rolling load capacity, same chemical resistance.
Key specs:
- Thickness: 0.25″
- Tile size: 2′ × 2′
- Price: $2.08/sq ft
The catch: Lighter colors show tire marks more than the diamond pattern.
Best for Drainage
Vented Drain PVC Tiles
Best for: Snow/salt climates, car washes, high-moisture garages
Perforated design allows liquid — snowmelt, rain, wash water — to drain directly through the tile rather than pooling. Eliminates the standing-water slipping hazard that epoxy creates in wet conditions.
Frequently Asked Questions
Is epoxy or interlocking tiles better for a garage floor?
For most homeowners, interlocking PVC tiles are the stronger choice — faster installation, lower cost, no concrete prep required, and reversible if you move. Epoxy is better when you need a seamless showroom aesthetic and have the concrete condition, budget, and timeline to support professional installation. The right answer depends on your specific garage floor and priorities.
How long does an epoxy garage floor last?
Quality professional epoxy with a polyurea topcoat lasts 10–20 years. Budget DIY kits typically show peeling, hot tire pickup, or fading within 3–5 years without proper surface prep. PVC interlocking tiles, by comparison, last 15–25+ years under normal residential use and carry a limited lifetime warranty from Norsk.
Do garage floor tiles damage concrete?
No. Interlocking PVC tiles float on the surface with no adhesive and cause zero damage to the concrete below. They can be removed cleanly at any time — no grinding, no residue, no repair required. This makes them ideal for renters or anyone who may want to restore the original concrete surface later.
How much does it cost to epoxy a 2-car garage?
Professional epoxy installation for a 2-car garage (450 sq ft) typically runs $1,350–$5,400 depending on location and coating type. Quality DIY kits for the same space cost $300–$600, plus a full weekend of labor. By comparison, Norsk PVC interlocking tiles cover a 2-car garage for approximately $936–$967 with same-day DIY installation.
Can you install garage floor tiles yourself?
Yes — it’s one of the most beginner-friendly flooring installations available. Norsk PVC tiles snap together without adhesive, power tools, or special skills. The only tools useful are a rubber mallet for snapping seams and a utility knife for edge cuts. A 2-car garage typically takes 4–6 hours to complete from start to finish.
What is the best garage flooring for parking a car?
Rigid PVC interlocking tiles with high load ratings are ideal for vehicle use. Look for tiles rated at 5,000 lbs rolling load or higher — DURAFLEX Diamond meets this spec. They resist hot tire marks, oil, brake fluid, and road salt far better than budget epoxy. Avoid lightweight foam tiles or thin rubber mats, which are not designed for vehicle weight.
Ready to Upgrade Your Garage Floor?
Norsk PVC tiles install in an afternoon, cost a fraction of professional epoxy, and work over any concrete condition — no contractor required. Browse the full tile lineup and find the right fit for your garage.