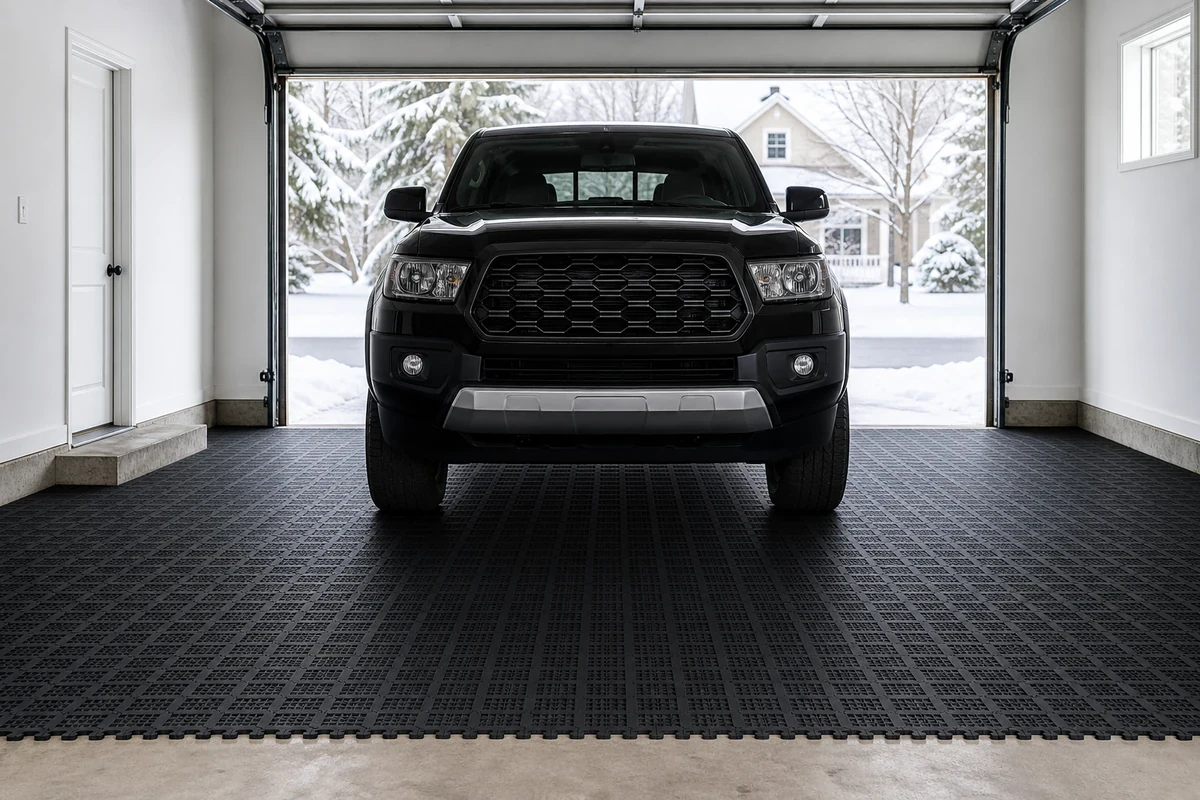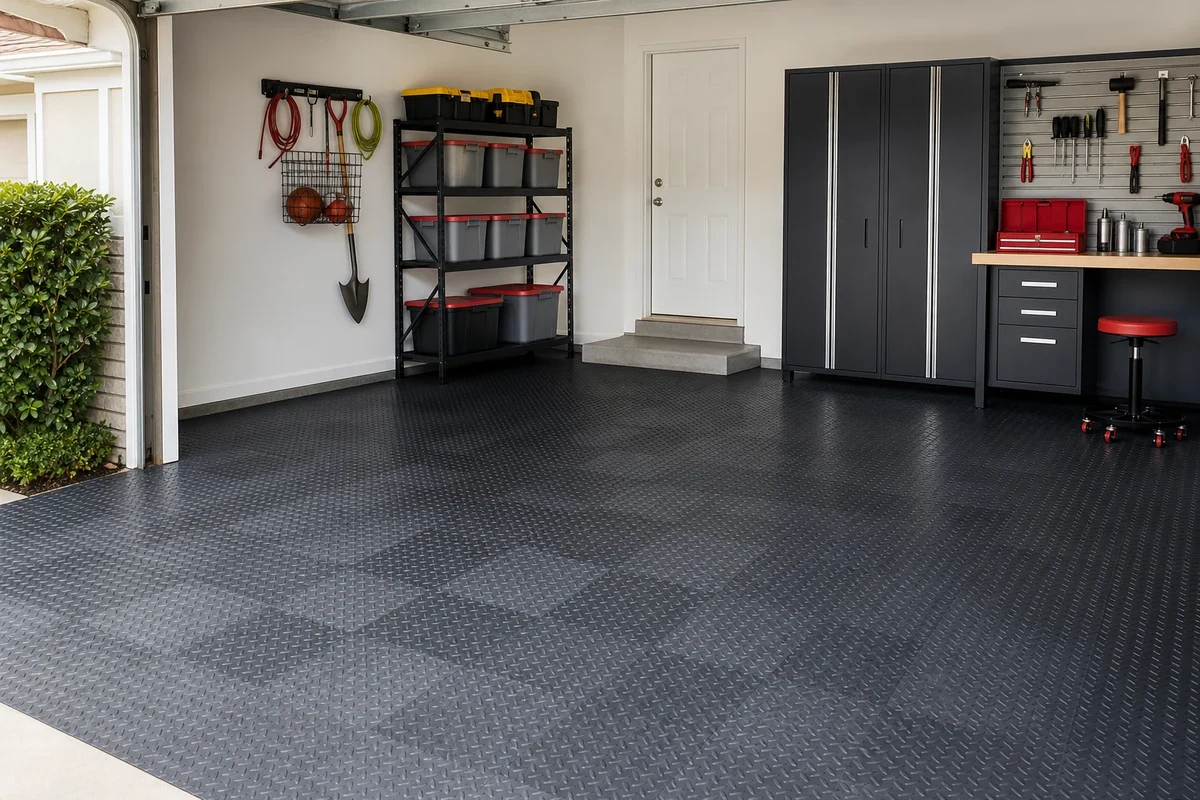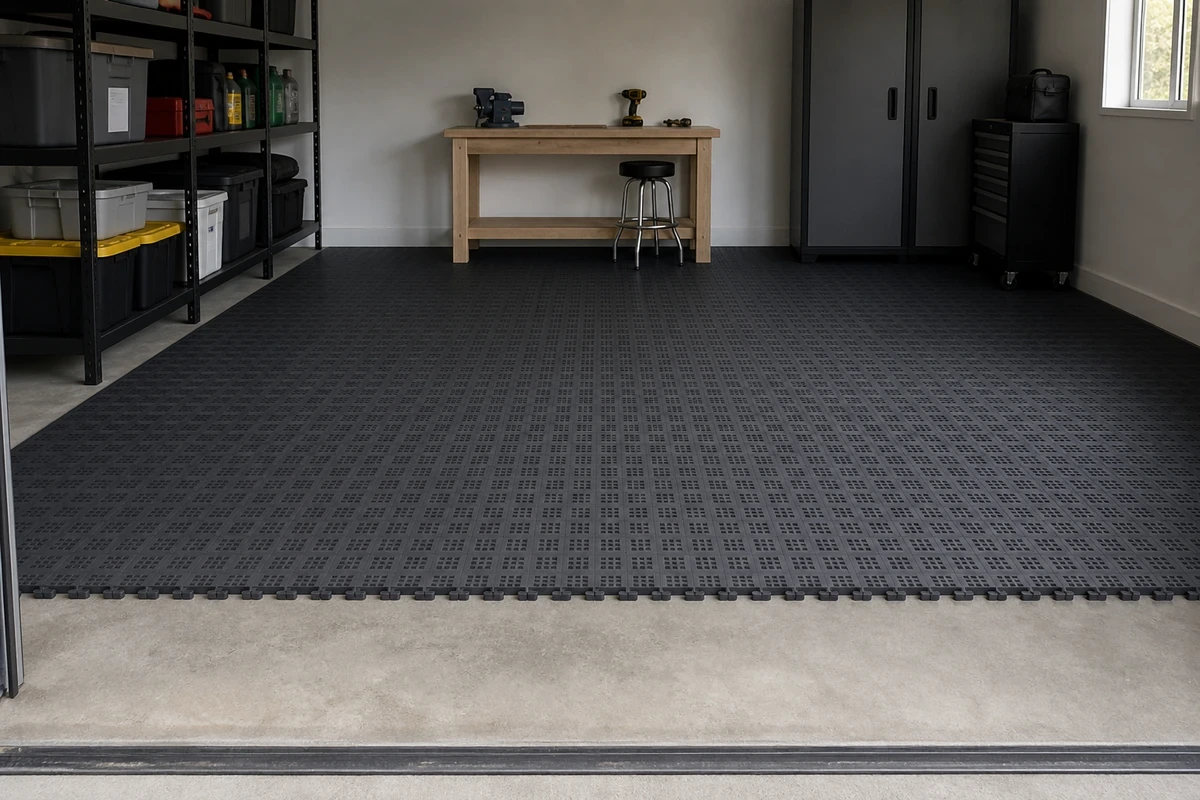
You bought the flooring. You cleared the room. Then you knelt on the slab, ran a hand across it, and realized that installing flooring over concrete is two projects, not one — concrete prep is the project most guides leave out.
Most articles assume your slab is ready and skip straight to “click the tiles together.” That’s how good products end up under failed floors.
By the end of this guide you’ll know exactly what your slab needs before any flooring goes down — and which floor type fits the slab you actually have, not the perfect slab the manufacturer pictured.
We’ll cover slab diagnosis, prep work, floor-type compatibility, the universal install sequence, and the mistakes that turn good prep into ruined floors.
Here’s where to start.
Quick Answer: Before installing any floor over concrete, test the slab for moisture, cracks, and flatness — the slab you have decides the floor you can use. Damp or cracked slabs favor floating interlocking tiles that tolerate imperfections; sound, dry, level slabs also allow glued or coated finishes like epoxy. Skipping moisture testing and prep is the single most common mistake that ruins an otherwise good install.
Why concrete is different (and why it matters)
Concrete looks inert. It isn’t.
Every slab moves slightly with seasonal temperature and humidity swings. Vapor migrates upward through the slab year-round. The chemistry is alkaline (pH 12–13), which destroys many flooring adhesives over time.
Even a “good” slab develops hairline cracks. The question is which ones matter.
Here’s the deal: these four facts — movement, vapor, alkalinity, cracks — dictate every decision you make. Floor type. Underlayment. Adhesive. Even tools.
Get them wrong and the floor fails in 6–18 months, regardless of which product you bought. Get them right and the cheapest tiles will outlast a $5,000 epoxy job done over a bad slab.
That’s why installing flooring over concrete is a substrate problem first, a flooring problem second.
The 4 conditions your slab must pass
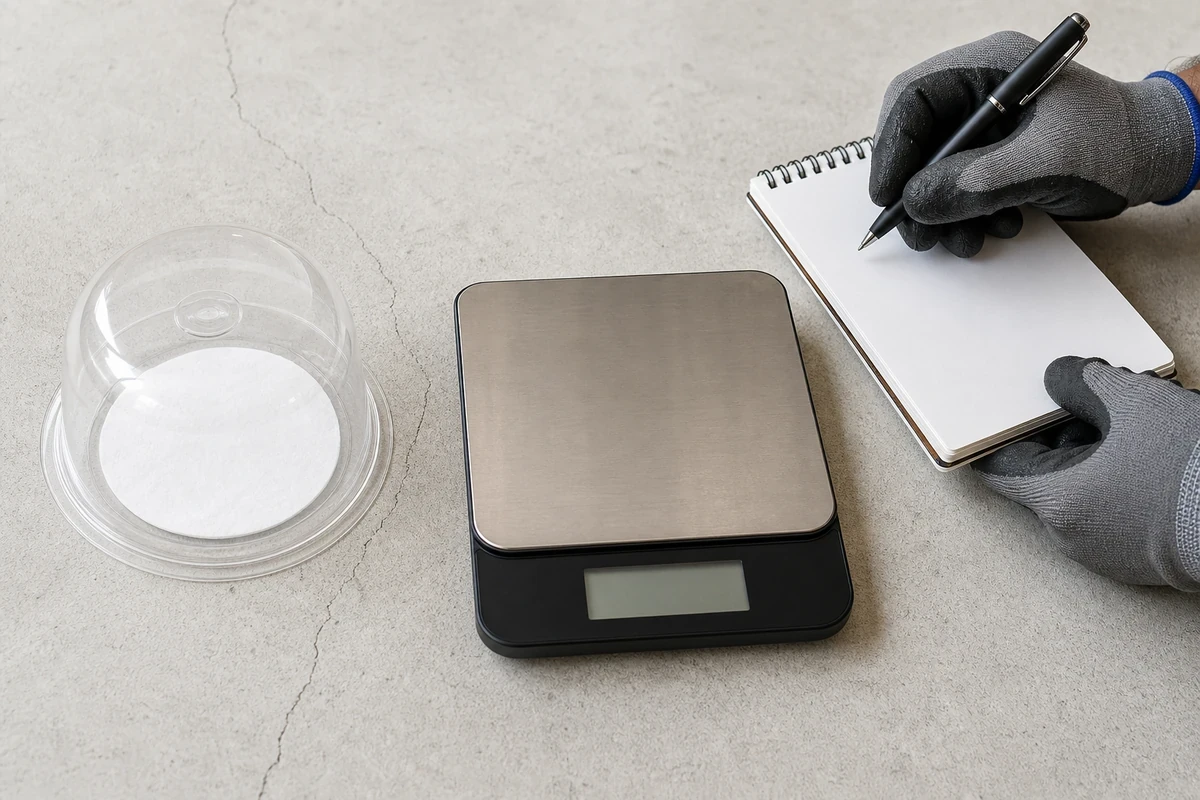
Before you commit to any flooring, run your slab through these four tests. Each one rules out floor types that won’t survive — and that saves you from a torn-up failure.
Moisture (the #1 killer)
Two test methods are industry standard. Calcium chloride (ASTM F1869) measures vapor emission in pounds per 1,000 sq ft over 24 hours. RH probes (ASTM F2170) measure relative humidity 40% deep into the slab.
Pass thresholds: under 3 lbs / 1,000 sq ft on the calcium chloride test, OR under 80% RH on probe tests.
If your slab fails: floating tiles still work (they don’t bond, they tolerate vapor). Adhesive-dependent floors — epoxy, glued vinyl — should not go down without a vapor mitigation system or the floor will delaminate within a year.
Flatness
Floors don’t all forgive the same unevenness. Tiles and roll mats tolerate ¼” deviation per 10 ft. Coatings (epoxy, polyaspartic) demand 1/8″ per 10 ft or they pool unevenly and chip prematurely.
Test method: lay a 6-foot straight edge on the slab in multiple directions. Mark every spot where you see daylight under it.
Now: low spots get self-leveling compound (good for under ½” deviations). High spots get ground down with a concrete grinder. Skip this and the floor rocks, gaps, or chips at the same spots forever.
Cracks
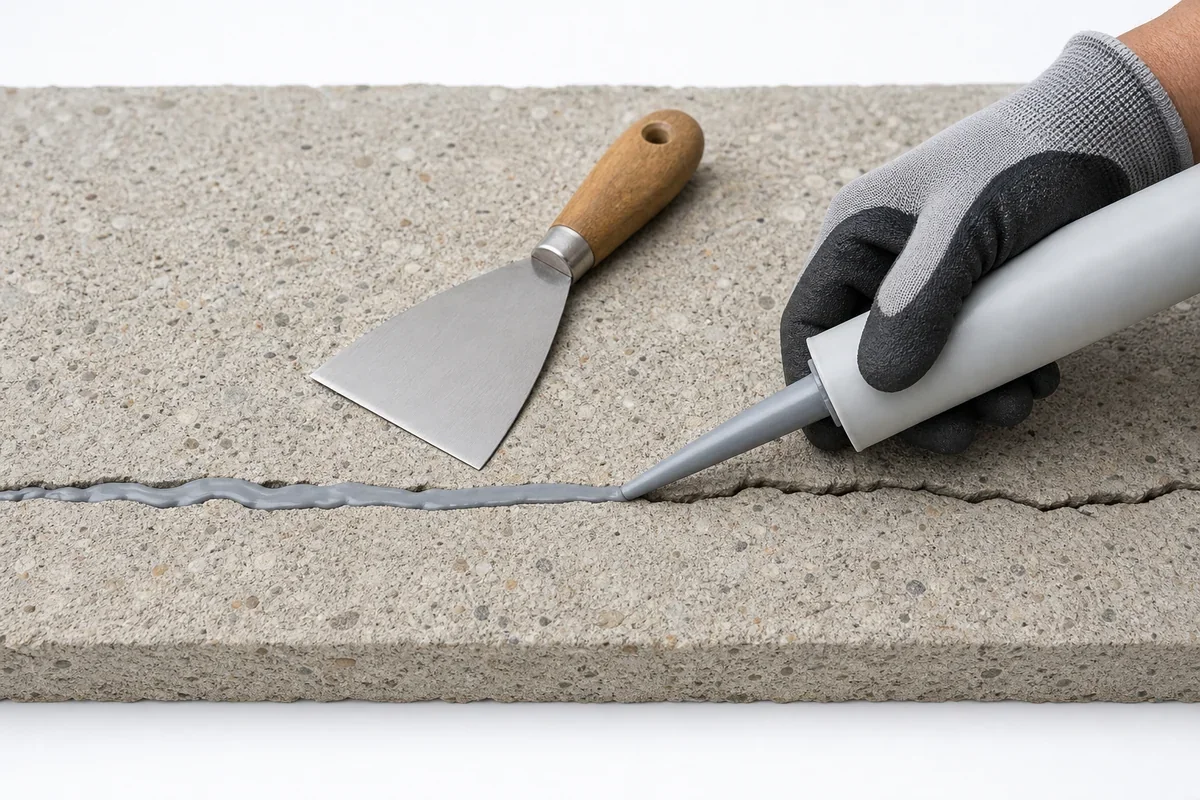
Not every crack is a problem. Hairline cracks under 1/16″ are cosmetic and seal with a basic concrete sealer.
Working cracks between 1/16″ and ¼” need elastomeric polyurethane patch — never rigid epoxy filler. Polyurethane stretches with the slab; epoxy doesn’t, and it fails by next winter.
Structural cracks (over ¼”, or with differential height between sides) mean stop. That’s a foundation conversation, not a flooring decision.
Cleanliness and surface profile
Adhesive floors need a clean, slightly rough surface. The Concrete Surface Profile (CSP) standard runs from 1 (smooth) to 9 (very rough).
For floating tiles: CSP 1 is fine — the tiles don’t bond. For glued floors: aim for CSP 2–3, achievable with acid etch or light grinding.
Here’s the catch: oil residue, curing-compound film, and efflorescence (white salt bloom) all kill adhesion. Degrease, vacuum, and acid-etch — in that order — before any glued floor goes down.
Floor-type matrix: best choice by slab condition
This table is the spine of the article. Find your slab condition row, see which floor types still work.
| Slab Condition | Interlocking Tiles | Roll Mats | Epoxy / Polyaspartic | Vinyl Plank | Foam |
|---|---|---|---|---|---|
| Moisture <3 lbs / <80% RH | Yes | Yes | Yes | Yes | Yes |
| Moisture 3–6 lbs / 80–90% RH | YesFloats | CautionAdhesive risk | No | Caution | YesFloats |
| Moisture >6 lbs / >90% RH | CautionVapor barrier required | No | No | No | Caution |
| Hairline cracks | Yes | Yes | YesIf filled | Yes | Yes |
| Working cracks (1/16″–¼”) | YesFloats over | Caution | No | Caution | Yes |
| Out-of-flat (¼” / 10 ft) | YesTolerates | Caution | NoRejects | Caution | Yes |
Want to know the best part? Floating interlocking tiles tolerate every common slab problem. They don’t bond, so vapor doesn’t blister them. They click together as a continuous sheet, so they bridge minor unevenness and working cracks.
Adhesive-dependent floors (epoxy, glued vinyl) want a near-perfect slab. They’re cheaper per square foot upfront but reject the slabs most homes actually have.
Foam is forgiving but compresses under heavy gym equipment and rolling tool chests. Roll mats sit between tiles and full-adhesive systems — easier to install than tiles, less forgiving than tiles, less demanding than epoxy.
For the full floor-type comparison with product specs, see our garage flooring options guide. For the epoxy-vs-tile decision specifically, see epoxy vs interlocking tiles.
Universal install sequence (5 steps)
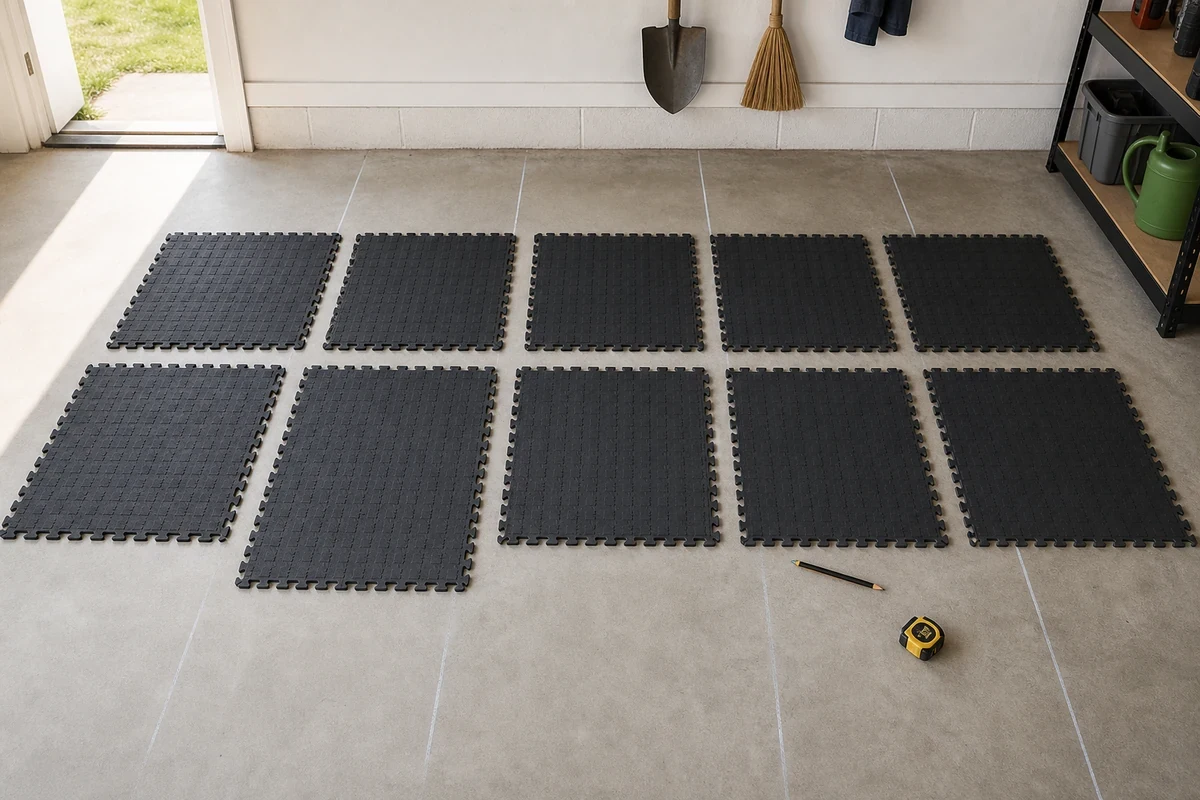
These five steps apply across tiles, mats, and coatings. The product-specific details live in each linked guide; the sequence is universal.
Step 1: Layout planning
Map your slab’s expansion joints. Most garages have one or two control joints — the saw cuts in the slab. These joints exist because the slab moves.
Floating tiles and rubber mats can cross joints freely. Adhesive floors cannot — they’ll crack along the joint within a season.
Photograph your dry layout before any adhesive goes down. Pencil-mark control lines from the longest straight wall, perpendicular to the door. The room is rarely square; trust the lines, not the walls.
Step 2: Prep and clean
Patch cracks first using the rules in the previous section. Self-level the low spots. Wait for the leveler to fully cure (check the bag — usually 4–24 hours).
Now degrease. Mineral spirits or a concrete degreaser, plus a stiff-bristle brush. Rinse and dry.
Vacuum thoroughly — including the corners. Any grit left behind shows up as a high spot under the floor and you’ll feel it forever.
Step 3: Vapor and underlayment decision
If your moisture test came back borderline (3–5 lbs / 75–85% RH) and you’re installing a floating floor, lay 6-mil polyethylene sheet across the slab first, taped at all seams. This stops migration without bonding to anything.
If you’re installing tiles only with no moisture concern, skip the underlayment. Tile thickness handles minor unevenness.
If acoustic isolation matters (apartment, gym above living space), add ¼” cork or rubber underlayment between the vapor barrier and the floor. See our apartment gym flooring guide for noise-reduction stack-ups.
Step 4: Install (universal logic)
Start at the longest straight wall and work outward. Stagger seams by half a tile or half a plank to lock the floor against movement.
Leave ½” expansion gap at the perimeter — every floor over concrete needs it. This gap absorbs seasonal slab movement and prevents buckling.
Cut edge pieces last. PVC tiles cut cleanly with a sharp utility knife scored twice — push the score line, snap, finish with a second pass. Rubber tiles need a wet saw or jig saw with a fresh blade; dull blades tear the rubber edge and the cut shows through finished installs.
For tile-specific install detail (interlock direction, chamfer orientation, pre-cut planning around drains and posts), see our garage floor tile installation guide.
Step 5: Finish and test
Walk the floor barefoot or in socks. Any tile that rocks or makes a hollow click means a high spot underneath that you missed.
Pull rocking tiles, grind or shim the spot, reinstall. Don’t ignore them — they multiply the deflection wherever a wheel rolls.
Wait 24 hours before parking a vehicle or moving heavy gym equipment onto floating floors. For coatings, wait the full 7-day cure window. Manufacturer specs aren’t suggestions — they’re warranty conditions.
Here’s why this matters: 80% of failed concrete-substrate floors fail at the install, not the product. Following the sequence above is what separates a 10-year floor from a 6-month redo.
Common mistakes that ruin a good slab
The truth? Most concrete-floor failures trace back to one of these six mistakes.
- Skipping the moisture test because the slab “feels dry.” Concrete can read 80% RH and feel completely dry. The test costs $25 and an hour.
- Using rigid filler in working cracks. Epoxy patch in a moving crack lasts one season. Polyurethane patch lasts the life of the floor.
- Installing over efflorescence without removing it. White bloom is alkali salt — it kills adhesive contact. Wire-brush, vacuum, neutralize.
- Cutting expansion-gap coverage. Skipping the ½” perimeter gap or trimming around fixed obstacles too tight. The floor buckles by mid-summer.
- Walking on fresh self-leveler. Manufacturers spec a hard cure of 4–24 hours; under-curing creates permanent footprints in the prep layer that telegraph through any floor laid on top.
- Cutting tiles with a dull blade. Dull utility knives bunch PVC; dull jig-saw blades tear rubber. Always start each install with a fresh blade and replace at every 50–75 cuts. The cost of blades is dwarfed by the cost of replacing chewed edge tiles.
Cost reality check
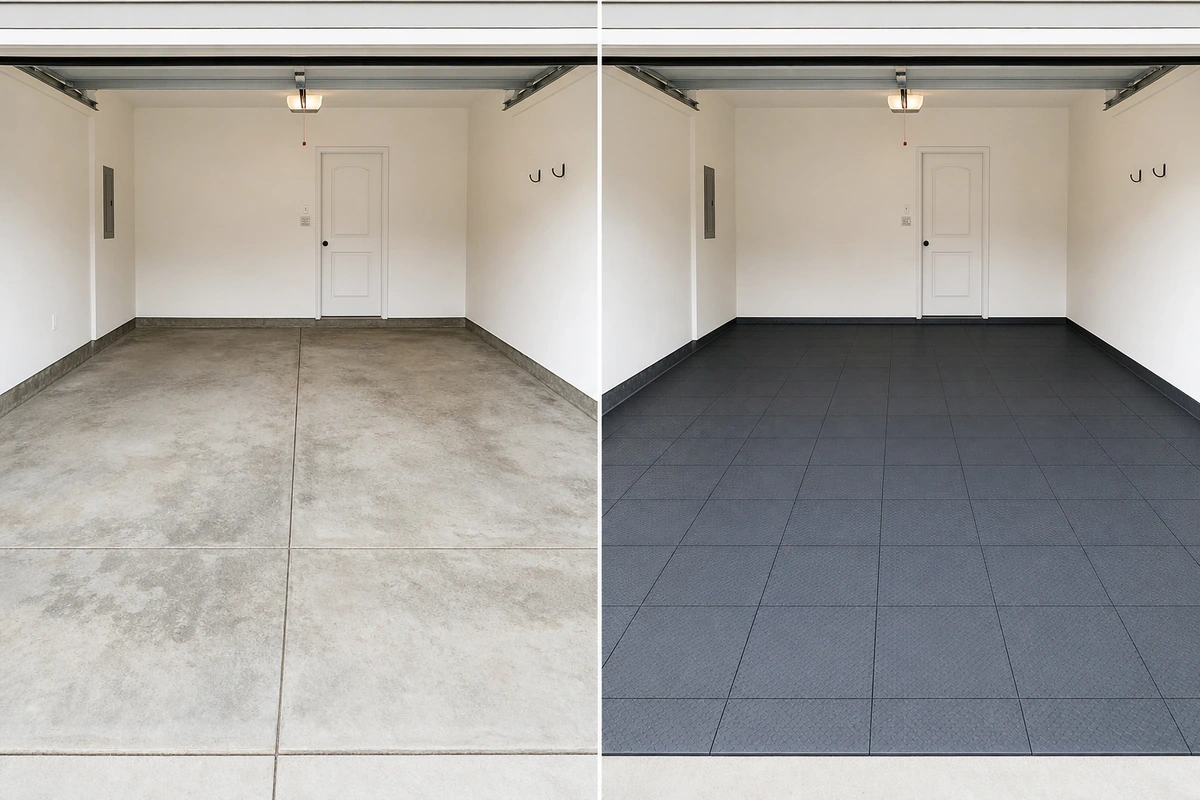
Prep cost scales with slab condition. Floor cost is roughly constant. Total install economics swing sharply on slab quality.
| Slab Condition | Prep Cost | Floor Cost | Total / sq ft |
|---|---|---|---|
| Pristine slab (rare) | $0–$0.50 | $2–$8 | $2–$8.50 |
| Minor cracks + flatness | $0.75–$1.50 | $2–$8 | $3–$10 |
| Moisture issue (vapor barrier) | $1.50–$3 | $2–$8 | $4–$11 |
| Major moisture (mitigation system) | $4–$8 | $2–$8 | $6–$16 |
This is why floating tiles often beat epoxy on real-world cost. Tiles forgive prep failures that would force a $4–$8/sq ft mitigation system before epoxy goes down. The sticker price says epoxy is cheaper; the slab decides.
Vapor mitigation systems are expensive because they’re chemistry, not just a sheet of plastic. They use moisture-cured epoxy primer that bonds to damp concrete, then a build coat that creates a true vapor barrier in the bond plane. Two-coat systems on a 400-sq-ft garage run $1,600–$3,200 in materials and a full day of skilled labor before any finished floor goes down.
The lesson: don’t pick a floor type until your moisture test is done. The result of that one test changes the cost of the project by thousands of dollars.
Bottom line
Diagnose the slab first. Match the floor type to the slab condition using the matrix above.
Don’t skip the prep — it’s always cheaper than tearing out a failed floor and starting over.
For floor-type comparison and product depth, start with our garage flooring options guide. For specific scenarios — apartment gym, workshop, weight room — see apartment gym flooring, workshop flooring, or weightlifting flooring.
Frequently asked questions
Do I need a moisture barrier on concrete before installing flooring?
It depends on your moisture test. Under 3 lbs / 80% RH, no barrier is needed for most floors. Between 3–6 lbs / 80–90% RH, use 6-mil poly under floating floors. Above 6 lbs, a full vapor mitigation system is required for any adhesive-dependent floor — or switch to floating tiles.
Can I install flooring over cracked concrete?
Yes, in most cases. Hairline cracks under 1/16″ need only sealer. Working cracks 1/16″–¼” require elastomeric polyurethane patch. Cracks over ¼” or with differential height are structural — stop and have a contractor assess. Floating tiles bridge minor cracks better than any glued floor.
How do I test concrete for moisture before installing flooring?
Two methods. Calcium chloride test kit (~$25): adhesive ring with desiccant pad sits on slab 60–72 hours, weight gain calculates moisture vapor emission. Relative humidity probe (~$200): drilled into slab, measures core RH. ASTM F1869 (calcium chloride) and ASTM F2170 (RH) are the industry standards.
What flooring is best for concrete subfloor?
For most homes: interlocking floating tiles. They tolerate moisture, minor unevenness, and slab movement that destroy glued floors. Roll mats are second-best — easier install, slightly less forgiving. Epoxy is cheapest per square foot if your slab is pristine but rejects most real-world slabs without expensive mitigation.
How level does concrete need to be for flooring?
Floating floors (tiles, mats, foam) tolerate ¼” deviation per 10 ft — generous. Glued vinyl tolerates 3/16″ per 10 ft. Coatings demand 1/8″ per 10 ft and reject anything more. Test with a 6-foot straight edge in multiple directions; mark and grind/level high and low spots before any flooring goes down.
Can you install flooring directly on concrete?
Yes, with the right floor type and prep. Floating interlocking tiles install directly on clean, dry concrete with no adhesive, no underlayment, no nails. Glued floors (vinyl, epoxy) need surface prep — degrease, etch, sometimes prime — before adhesive contact. Always verify moisture before installing any glued or adhesive-dependent floor.
Ready to upgrade your concrete floor?
Norsk-Stor’s interlocking PVC and rubber tiles install directly on prepped concrete with no glue, no nails, and no specialty tools. They float across minor cracks, tolerate moisture conditions that reject epoxy, and disassemble cleanly if you ever need to inspect or repair the slab beneath.
Browse our full garage tile collection and find the option that matches your slab condition — and your install budget.